
How to Make Shirts with Cricut Makers?
To make t-shirts with a Cricut maker it is essential to know how to design shirts with Cricut Design Space and print them using the Cricut maker tool. Below we lay out the process of designing and creating your custom t-shirt.Step 1: Designing the Shirt with Cricut Design Space
You can either create or upload the design for your custom shirt. With a Cricut Access membership, the Design Space library provides a lot of ready-made designs for iron-on shirts. In Cricut Design space, choose a pre-made vinyl design file or develop an entire design from scratch in the design app. You can even upload any image in the SVG file which is design tool compatible. This software gives you a wide scope of designing anything from simple, one-color designs to the latest trends. This software definitely gives you the liberty to come up with different intricate designs. Once you are satisfied with your design, finalize the image in Cricut's Design Space for your special type of Cricut t-shirt. To continue to cut, adhere to the instructions. When using iron-on, choose "mirror" on the cut screen.Step 2: Understanding the Process to Cut Iron-on Vinyl
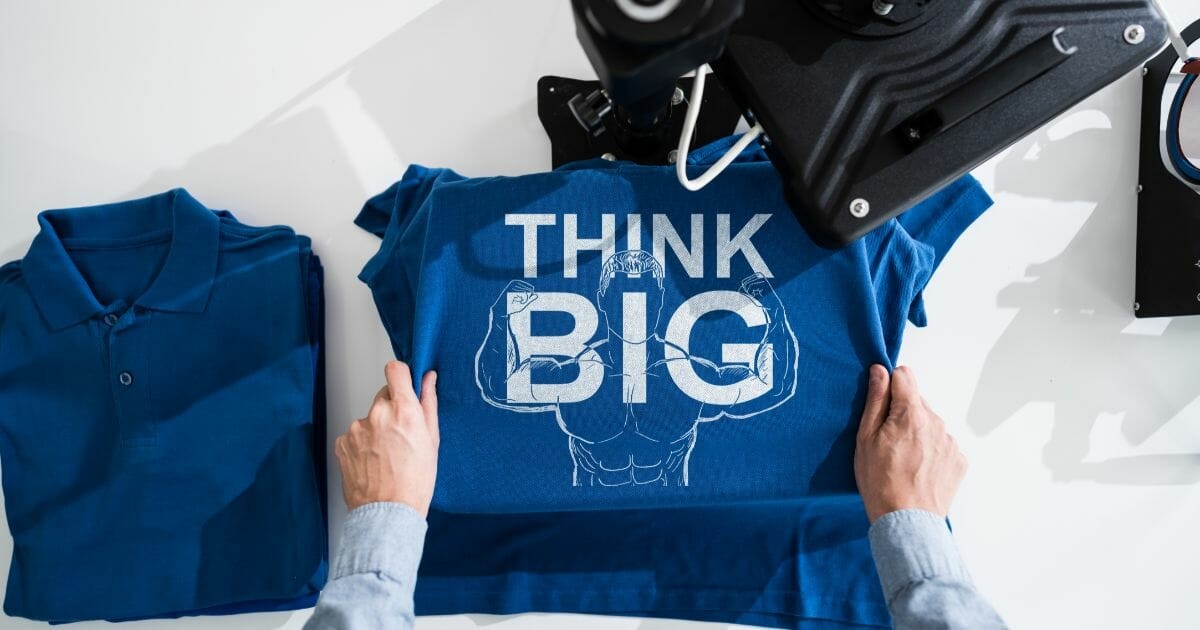 Place the Vinyl on the cutting mat. Next, use a brayer tool to roll the vinyl out with gentle to medium pressure so that it is a flat surface and is firmly glued to the mat or the cover sheet.
The two sides of iron-on vinyl, the dull one and the shiny one, are not equally appealing. It has a plastic backing sheet, and it is glossy on one side, which in turn makes it a heat-transferable process for keeping the material warm.
Keep in mind that the vinyl's glossy side should lie down. In this method, the vinyl may be cut by the Cricut machine without damaging the transparent plastic backing sheet. Please take into account that patterned vinyl is often applied with the design facing down with a plastic transfer sheet. Even heat-resistant tape of compact size can be used to control the heat settings.
Click the button once you place the mat. After that, you may email the design file to your Cricut. Return to Cricut Design Space on your PC. Then, the Cricut machine will receive the file.
The steps are listed below:
To proceed, use the "Make it" button in the upper right corner. Turn on "Mirror" by toggling it on the subsequent Prepare screen. Always remember to reverse your iron pattern before cutting! Follow that up with a click on the Continue button.
Choose your starting material on the subsequent Make screen. Make your selection from the Popular category and pick Everyday Iron-On. Select Browse All Materials if you're interested in finding more vinyl options.
Please note that in order to access the drop-down options on a Cricut Explore, you must switch the disc to the custom setting to judge the exact sizes as well as the cutting size of the T-shirt sizes.
Selecting iron-on as the material will prompt Cricut Design Space to double-check that Mirror is activated. Apart from this, the correct time for the process should also be checked. If a wrong time is marked, then the desired results will be missed.
When that's done, you may begin carving the pattern. When ready, press the blinking Go button to begin cutting with the electronic cutting machine.
Place the Vinyl on the cutting mat. Next, use a brayer tool to roll the vinyl out with gentle to medium pressure so that it is a flat surface and is firmly glued to the mat or the cover sheet.
The two sides of iron-on vinyl, the dull one and the shiny one, are not equally appealing. It has a plastic backing sheet, and it is glossy on one side, which in turn makes it a heat-transferable process for keeping the material warm.
Keep in mind that the vinyl's glossy side should lie down. In this method, the vinyl may be cut by the Cricut machine without damaging the transparent plastic backing sheet. Please take into account that patterned vinyl is often applied with the design facing down with a plastic transfer sheet. Even heat-resistant tape of compact size can be used to control the heat settings.
Click the button once you place the mat. After that, you may email the design file to your Cricut. Return to Cricut Design Space on your PC. Then, the Cricut machine will receive the file.
The steps are listed below:
To proceed, use the "Make it" button in the upper right corner. Turn on "Mirror" by toggling it on the subsequent Prepare screen. Always remember to reverse your iron pattern before cutting! Follow that up with a click on the Continue button.
Choose your starting material on the subsequent Make screen. Make your selection from the Popular category and pick Everyday Iron-On. Select Browse All Materials if you're interested in finding more vinyl options.
Please note that in order to access the drop-down options on a Cricut Explore, you must switch the disc to the custom setting to judge the exact sizes as well as the cutting size of the T-shirt sizes.
Selecting iron-on as the material will prompt Cricut Design Space to double-check that Mirror is activated. Apart from this, the correct time for the process should also be checked. If a wrong time is marked, then the desired results will be missed.
When that's done, you may begin carving the pattern. When ready, press the blinking Go button to begin cutting with the electronic cutting machine.