What is Reverse Weeding?
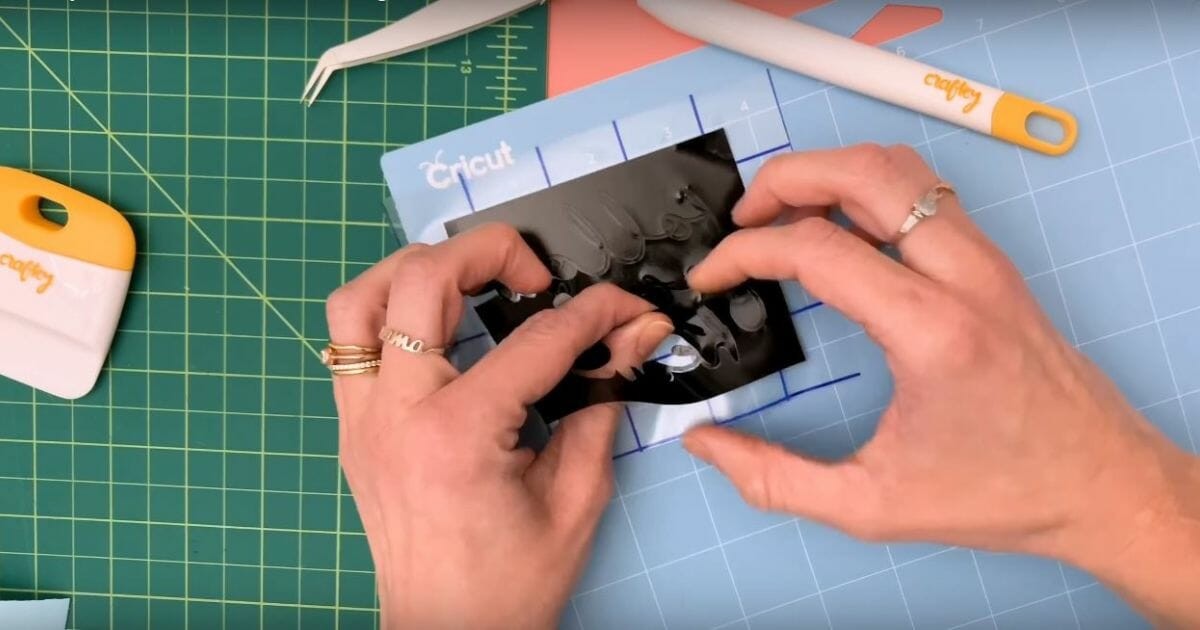 As the name implies, the process of weeding your design is reversed. The standard method to weed your design involves removing excess vinyl directly from the backing paper. This leaves only your desired design. The adhesive vinyl is then transferred onto a transferring tape and can be pasted wherever you'd like.
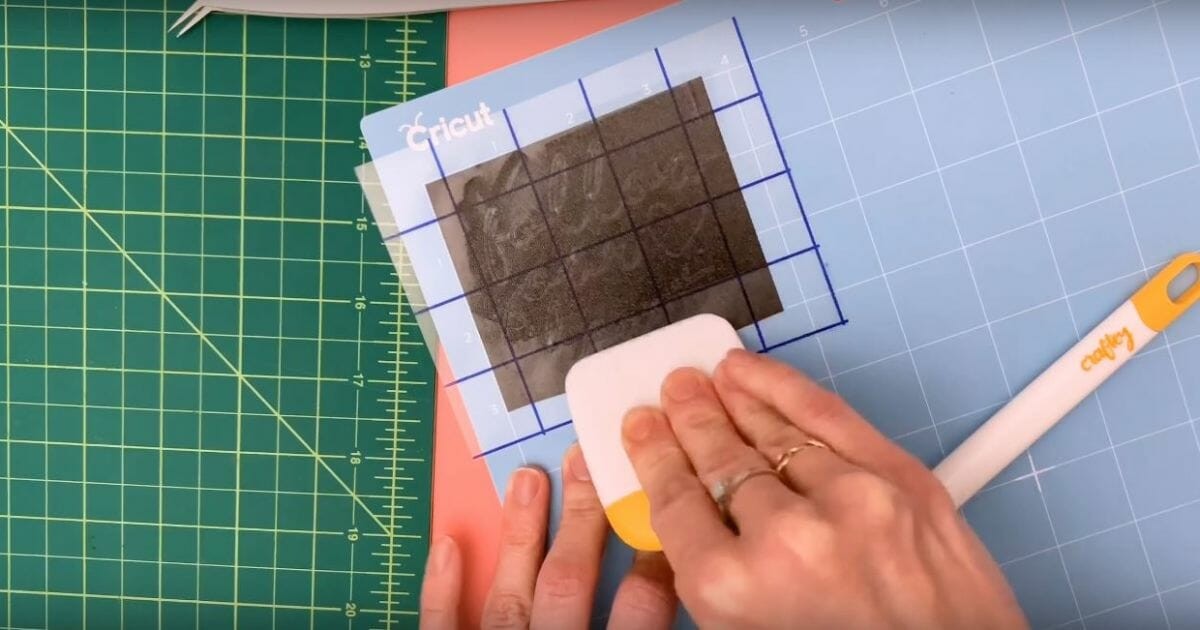
However, in reverse weeding, the traditional approach of transferring vinyl is altered to allow for an easier and less time-consuming method. Essentially, everything remains the same, except that instead of using your tools to weed off the excess adhesive vinyl from the backing paper, you transfer the entire vinyl to the transfer tape.
The weeding of the design is then done while the adhesive vinyl is attached to the transfer tape. This has many advantages of the standard weeding method, which we’ll discuss.
As the name implies, the process of weeding your design is reversed. The standard method to weed your design involves removing excess vinyl directly from the backing paper. This leaves only your desired design. The adhesive vinyl is then transferred onto a transferring tape and can be pasted wherever you'd like.
However, in reverse weeding, the traditional approach of transferring vinyl is altered to allow for an easier and less time-consuming method. Essentially, everything remains the same, except that instead of using your tools to weed off the excess adhesive vinyl from the backing paper, you transfer the entire vinyl to the transfer tape.
The weeding of the design is then done while the adhesive vinyl is attached to the transfer tape. This has many advantages of the standard weeding method, which we’ll discuss.
When Do You Need to Reverse Weed Your Vinyl?
As we already mentioned, when learning how to reverse weed vinyl, removing the negative vinyl after transferring the entire image onto the transfer tape will save you a bunch of time. For intricate designs that have flairs or smaller, isolated sections, weeding directly from the backing paper can be a nightmare. You may also ruin your design and have to do it again. Since the adhesive of the transfer tape is stronger than that of the backing paper, the vinyl will stick to the design better. So, when reverse weeding, the odds of pulling off your design or ruining are reduced. Plus, you'll be able to save time without being overly cautious, so it's a win-win.Supplies Needed for Reverse Weeding
Before we move on to how you can reverse weed, let's take a look at everything you'll need to reverse weed.- A functioning Cricut Machine
- An adhesive vinyl sheet of your design
- Any downloadable design file of your liking
- Transfer tape or any of its alternatives
- A squeegee or a scraper tool
- A weeding pen or tool
- A Cricut sticky mat (optional)
How to Reverse Weed Vinyl: A Step-By-Step Guide
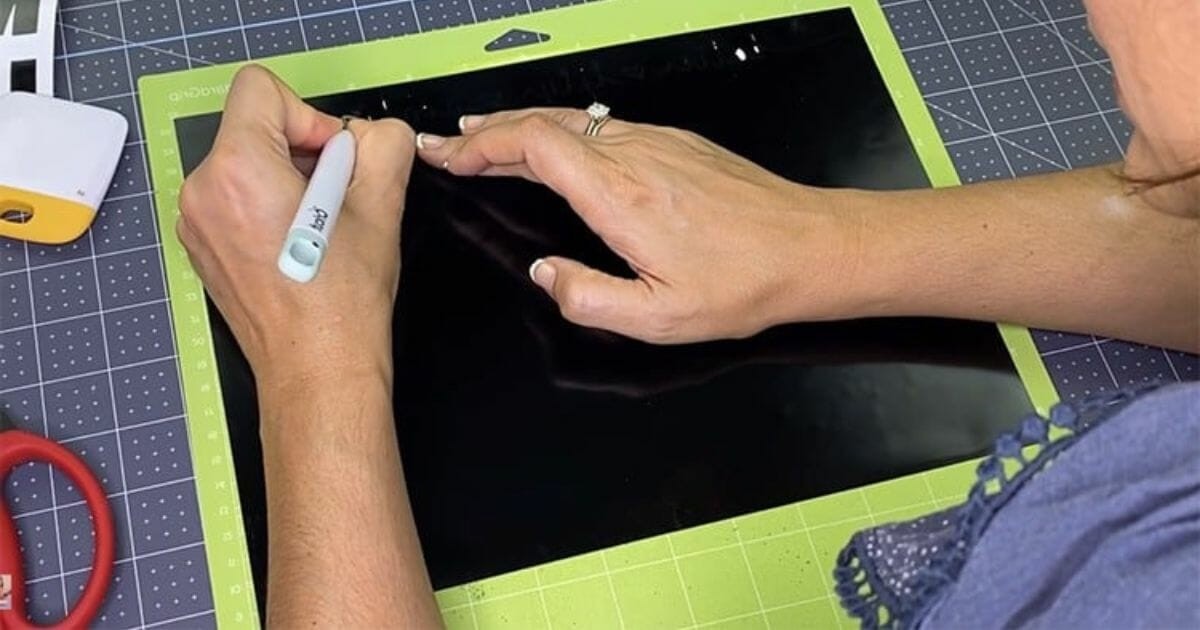 Now that you know everything about how to reverse weed vinyl and have all the supplies required, let's get weeding.
Step 1: Pick a Design
Pick and download any design you want from the internet. For instance, you can go with a beautiful butterflies SVG file for your design.Step 2: Cut Your Design
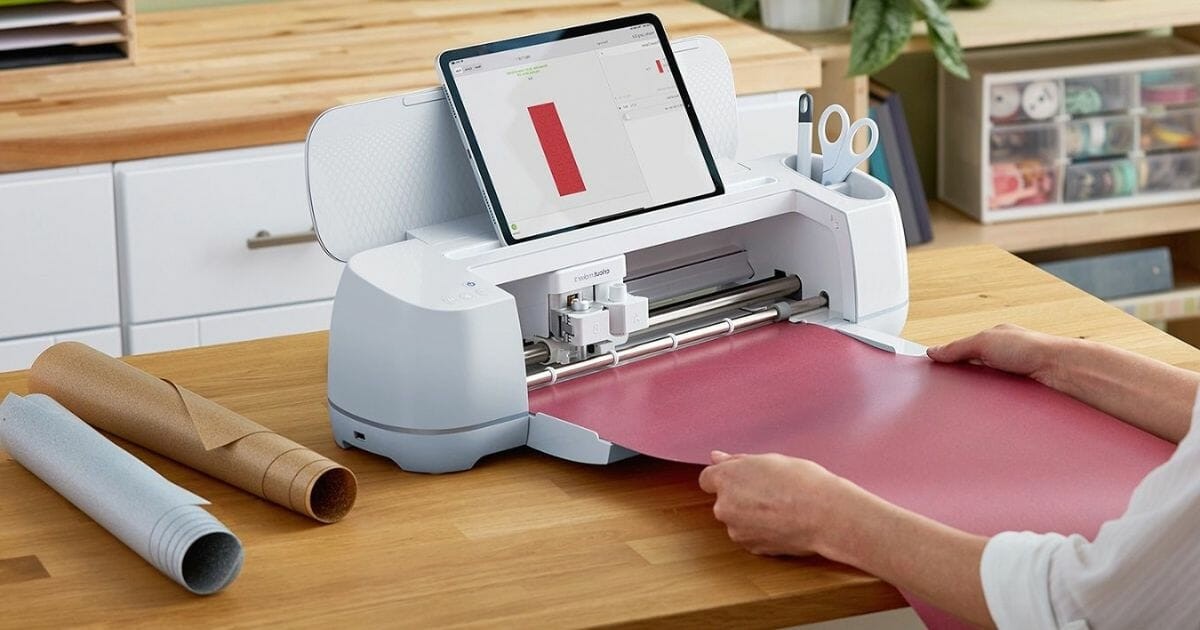 Use your Cricut machine or any electronic cutting machine to cut out the image you choose. Make sure to input the appropriate setting into the cutting software.
The color, thickness, and quality of the adhesive craft vinyl that you choose are entirely up to you. To conserve the maximum amount of vinyl, take note of the general size of the design you want. Afterward, cut off an appropriately sized section of the vinyl sheet to use in the cutting machine.
Use your Cricut machine or any electronic cutting machine to cut out the image you choose. Make sure to input the appropriate setting into the cutting software.
The color, thickness, and quality of the adhesive craft vinyl that you choose are entirely up to you. To conserve the maximum amount of vinyl, take note of the general size of the design you want. Afterward, cut off an appropriately sized section of the vinyl sheet to use in the cutting machine.