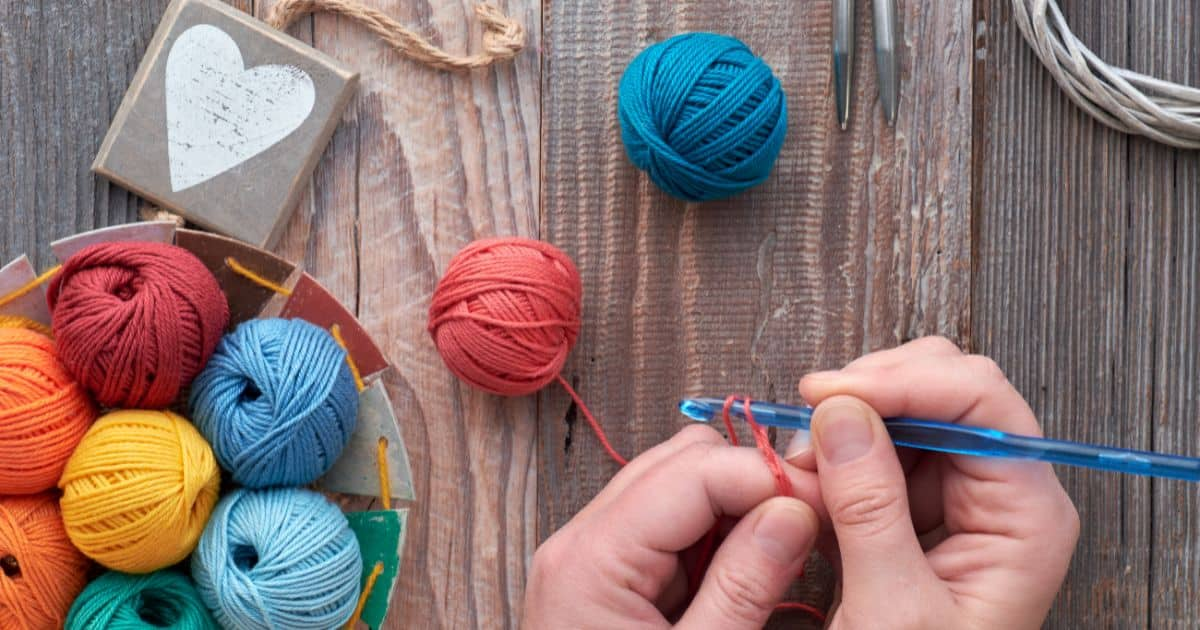
The very first step to starting a stitch in crochet or knitting is joining your yarn onto the hook or needle. This tie is referred to as a slipknot. It’s simple to do, but does require a bit of practice to get the hang of it.
To make matters easy, we’ve provided three different methods on how to make a slipknot crochet, plus a few extra tips. Start here before you take on your next crochet project!
What Is Slipknot in Crochet?
A slipknot in crochet is the first stitch for most, if not all patterns. This is a loop made at the end of a yarn that hooks onto the crochet hook and becomes a starting point for the pattern. Not to mention, it creates a solid rhythm for the rest of the pattern.
Why is a slipknot made instead of a regular knot? Well, that’s because the loop of a slipknot can be made bigger or smaller depending on how tight you pull on it. This helps ease pattern-making and makes the process more forgiving.
Speaking of forgiving, undoing a slipknot is as easy as pulling one end of the loop — so don’t worry about mistakes, just keep trying!
Is Slipknot a Stitch in Crochet?
No, a slipknot is not considered a stitch in crochet. This is simply what keeps the yarn tied to the hook. At the end of a chain stitch, the slipknot isn’t counted and it isn’t used as a starting point of a chain stitch either.
What Do You Need to Know Before Tying a Slipknot?
Before reading up on how to make a slipknot, let’s understand the jargon. Fortunately, all you need to know is the two ends of yarn:
- The ‘ball end’ is the string that is essentially tied to the ball of yarn and has no ‘end’.
- The ‘tail end’ is the string that is essentially the starting point of a stitch and moves freely.
How to Make a Slipknot Crochet?
Now that you know what the slipknot is and the jargon to keep in mind, let’s dig into the steps of tying one:
Materials You’ll Need:
- Yarn
- Crochet Hook
When working with a crochet pattern, make sure to use the crochet hook and type of yarn instructed by the author.
For beginners, we recommend using a basic yarn that isn’t too dark in color nor is it too fuzzy of a material — wool and cotton are great contenders. A mid-size crochet hook, like H/8 (5.0 mm), will work perfectly for any type of stitch.
Choosing the right yarn and hook is a key step in ensuring the first stitch is seamless and the end result is perfect.
The Hook and Loop Method
- First, unwind at least 15 cm of yarn from the ball.
- Next, take the tail end and create a loop around 2 to 3 inches below the free margin.
- Take the longer end of the string or the ‘ball end’ and hold it behind the loop you just made.
- Using the crochet hook, pull the ball end of the yarn through the loop to make a second loop.
- This will tighten the first loop around the second like a noose.
- Once the tool is hooked, adjust the fit by pulling on the ball end of the string. Your slipknot’s ready.
The hook and loop method is a great starting point and is especially recommended for people with less finger dexterity.
The Finger and Loop Method
- Unwind at least 15 cm of yarn and make a simple loop by wrapping the ball end over the tail end.
- Bring the longer end of the yarn behind the loop and using your fingers, pull it up through the loop.
- Hook the second loop onto your finger until the first loop creates a solid noose.
- Place the crochet hook between the loop and tighten the noose until secure. The slipknot is done.
This is the easiest, tool-free method of creating a slipknot. It’s perfect for beginner crocheters.
The Double Loop Method
- Unwind at least 12 inches of yarn and create a simple loop by winding the ball end over the tail end.
- Hold the intersection tightly. Then, create a second loop on the longer end of the yarn using your free hand.
- Next, take the second loop and draw it through the first making sure to hold it securely.
- Before you get tangled up in knots, tighten the first loop by pulling on the tail end until it creates a noose.
- Fit the crochet hook and your slipknot is complete.
Frequently Asked Questions
Can you hang with a slipknot stitch?
No, you cannot hang anything with a slipknot stitch. However similar it looks to a noose knot, a slipknot is actually a loose loop that comes undone when one of the ends is pulled. A noose is a tight knot that requires unwinding.
Is tying slipknot crochet difficult to master?
No, tying a slipknot crochet isn’t difficult to master but it does require practice to perfect. The best part is, it’s the easiest to undo, so it doesn’t matter how many mistakes you make. Simply reset and restart until you get the hang of it.
Is tying a slipknot easy for left-handed crocheters?
Yes, tying a slipknot is as easy for left-handed crocheters as right-handed ones. Simply use your dominant hand’s fingers to create a loop, or lay the yarn flat on the table and make the loop using the hook. As far as mistakes are concerned, pull the loop at one end and it’ll straighten up.
Brief Summary
Now that you know how to make a slipknot crochet and why it’s important, it’s time to kit up and bring out your favorite yarn and hook. Print out a pattern and get crocheting — it couldn’t get easier than this!