 Crocheting is a beautiful hobby. With a needle and thread you can create countless things to your liking, you just have to practice and be patient until you learn the technique.
So if you are a beginner looking for a new way to create something beautiful or if you already have basic knowledge in crochet, this project will surely be easy for you.
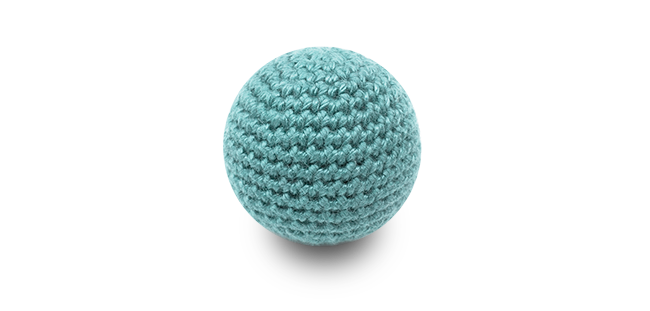
But if you don't know where to start, in this tutorial you'll learn how to make a ball with a step-by-step guide to make it perfectly round.
Keep reading to learn how to crochet a ball!
Crocheting is a beautiful hobby. With a needle and thread you can create countless things to your liking, you just have to practice and be patient until you learn the technique.
So if you are a beginner looking for a new way to create something beautiful or if you already have basic knowledge in crochet, this project will surely be easy for you.
But if you don't know where to start, in this tutorial you'll learn how to make a ball with a step-by-step guide to make it perfectly round.
Keep reading to learn how to crochet a ball!
Essential materials
- Crochet hook
- Thread
- Scissors
- Stuffing: You can use cotton, fleece, or fabric scraps and threads.
A few tips before starting with crochet ball pattern
Knitting crochet balls is a simple way to have fun. You can make them in any size if you follow a pattern, and it's always better when you have a few tips before you start.- Choose a thread according to the size of the ball you want to make. If the thread is thinner, the ball will be smaller, and on the contrary, if the thread is thicker, the ball will be bigger.
- It is recommended to use a smaller hook than recommended in the thread instructions to minimize the size of the holes and to prevent the stuffing from coming out.
- If you see that you have made a mistake, undo the point(s) that are necessary to correct the error and redo it again, do not abandon your project or continue with the error, you will thank yourself when the result does not contain any error.
- To carry out the process more comfortably, we made an article about how to hold yarn when crocheting.
How to crochet a ball? Step by step guide
If you are looking for a simple hobby or if you already have experience in crochet and you are wondering how to crochet a ball, you are in the right place to learn how to do it. You can crochet balls in any size, for example, to make small Christmas decorations, a giant beanbag sofa, amigurumi doll heads, pillows, or as a toy ball for your pets.Instructions to make a crochet ball:
Each sphere is almost always created in the same way. Here I will give you a summary explanation, but then we will continue with the step-by-step. To begin with, it is best to divide the sphere into 3 sections as detailed in the image.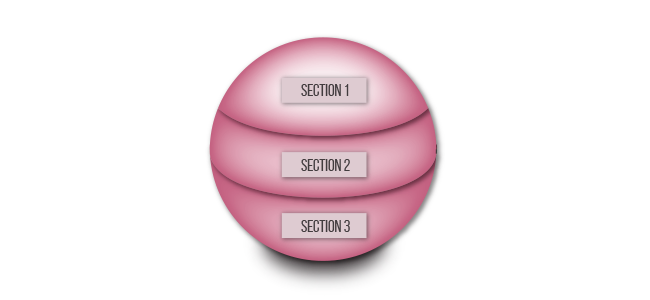 In this way, first, the magic ring technique is started in section 1. Then, the stitches are increased in a certain proportion until reaching section 2 where the number of stitches remains stable.
And finally, in the 3rd section, they begin to decrease the number of stitches in the same proportion as in section 1 they increased.
In this way, first, the magic ring technique is started in section 1. Then, the stitches are increased in a certain proportion until reaching section 2 where the number of stitches remains stable.
And finally, in the 3rd section, they begin to decrease the number of stitches in the same proportion as in section 1 they increased.