
Straight stitch tutorial
Before starting the tutorial, I recommend that you prepare your work area: a place with good light, the materials at hand and your glasses to see better (if you need them). Lastly, you can start practicing this embroidery stitch on a piece of fabric using needles of the appropriate type and size for the fabric.Materials you will need for a straight stitch:
- Embroidery hoop
- Embroidery needle
- Embroidery thread
- Scissors
- Pencil
- Ruler
- Small fabric for practicing
Instructions:
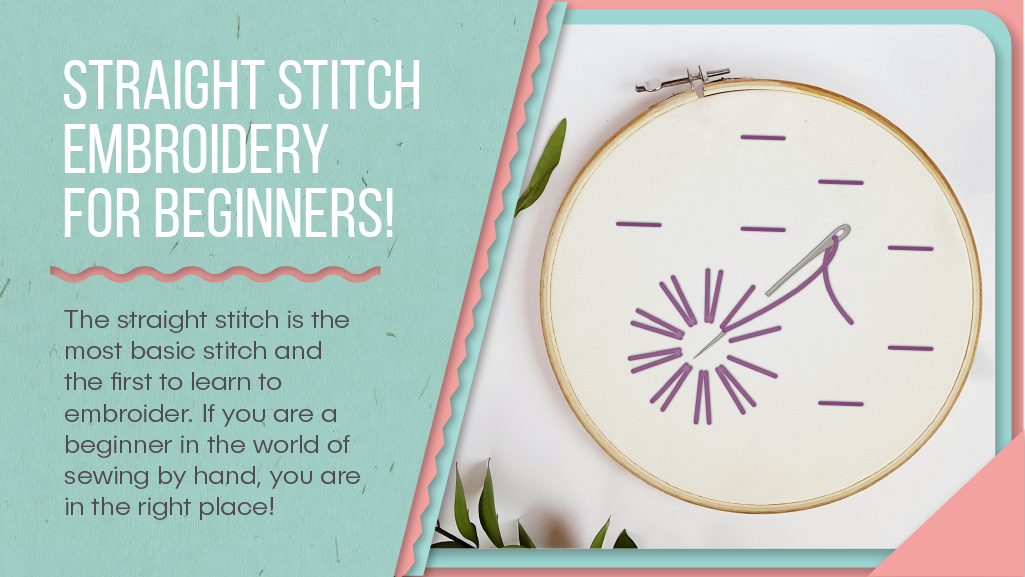
The straight stitch is made with an up and down movement of the needle, and whether individually or grouped with other straight stitches, this stitch is always separated from the next. Learn how to hand sew with this simple tutorial, let's get started!-
Step 1
Draw with the pencil on the fabric some short lines creating a pattern, for example, a leaf or flower. When you have finished your design, place the fabric in the hoop. -
Step 2
Cut a thread 12 to 14 inches long and thread it through the embroidery needle. Tie a knot at the other end. -
Step 3
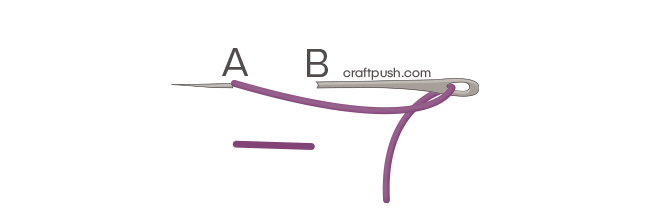
Bring the needle up from the back of the fabric to the front at the end point of one of your short lines. Then take the needle down at the opposite end of the stitch line. That is, insert the needle through point A from bottom to top and then into point B from top to bottom.
 Continue stitching in the same manner, bringing the needle up and taking it down at the end of the stitch line until you complete the pattern you want to embroider.
You can knot the thread at the back and cut the thread or make as many straight stitches as you like.
Straight stitch is so simple to do, it almost seems unnecessary to give directions. But this stitch is an essential staple in embroidery.
Continue stitching in the same manner, bringing the needle up and taking it down at the end of the stitch line until you complete the pattern you want to embroider.
You can knot the thread at the back and cut the thread or make as many straight stitches as you like.
Straight stitch is so simple to do, it almost seems unnecessary to give directions. But this stitch is an essential staple in embroidery.
Straight stitch can be used to create different textures and figures, for example:
- Sew fur on animal motifs
- To create a fill
- in landscapes
- In leaves, flowers and foliage
- To make outlines
- To embroider letters of the alphabet or numbers