
 Paper mache is a technique that we learn from a young age to make crafts.
However, this craft technique has an ancient history, originating in China where it was used to make helmets for war, and whose name comes from the French expression papier mâché which means "chewed paper".
Although you can buy paper mache glue, there are also several ways to do it at home and that is what you will learn to do here in an easy and effective way.
Few materials, great results.
Let's get started!
Paper mache is a technique that we learn from a young age to make crafts.
However, this craft technique has an ancient history, originating in China where it was used to make helmets for war, and whose name comes from the French expression papier mâché which means "chewed paper".
Although you can buy paper mache glue, there are also several ways to do it at home and that is what you will learn to do here in an easy and effective way.
Few materials, great results.
Let's get started!
Paper mache glue
For this paper mache recipe you will need few materials and two basic ingredients that you surely have in your house. So if you're wondering how to make paper mache paste, keep reading to learn how to do it at home with your own hands.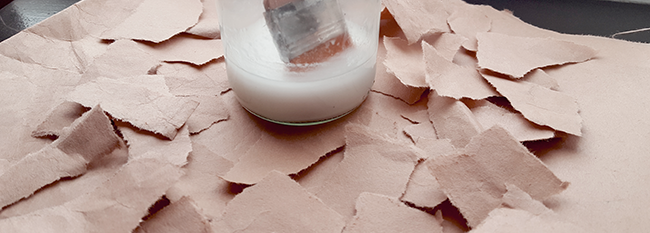
Essential materials:
- Flour
- Water
- salt (optional)
- mixing bowl
- Spoon
- Papers
Tips to get better results in paper mache paste
- This glue doesn't last long, so prepare the amount you need to use to avoid waste.
- Use a disposable container, even better if it's one you're reusing, because if you allow the paper mache glue to harden in the container it will be hard to get out and you'll probably waste water trying to clean it. For example, you can use a disposable salad bowl, yogurt container, or single-use coffee cup.
- Optionally, you can sift the flour before mixing it with the water to prevent lumps from forming in the mix.
- The water you use for the mixture can be cold or hot, but I recommend that it be hot (straight from the tap, it does not need to boil) so that the flour dissolves easily.
- The paper you use can also be recycled. For example, you can use an old newspaper.
- When you cover your work, first do it with 2-3 coats and let them dry completely.If you want to know how long to wait for it to dry, we will tell you in this article of how long does paper mache take to dry. Then you can add 2-3 more coats, wait for it to dry and continue adding more if you need to.