You have gotten a Cricut, have it all setup, but have NO idea where to begin. Learning how to use Design Space is crucial for using your Cricut to the best of its abilities. Design Space, for all the newbies out there, is the software that Cricut uses for all of the projects that you create! This blog will walk you through step by step the very basics of Design Space from an iphone perspective.
- The very first thing you have to do is create an account in Design Space and log-in. This is fairly straight forward. You can download the Design Space app onto your iPhone to begin.
- Once signed in, you will see a screen like this, and you want to click “New Project”.

3. Once you have started a “New Project”, you will see a screen that has a large grid. This is where you create the actual projects. Across the bottom, you will see all of the choices and elements for your new project. For this blog post, we are going to cover all of these basic icons and what they do.
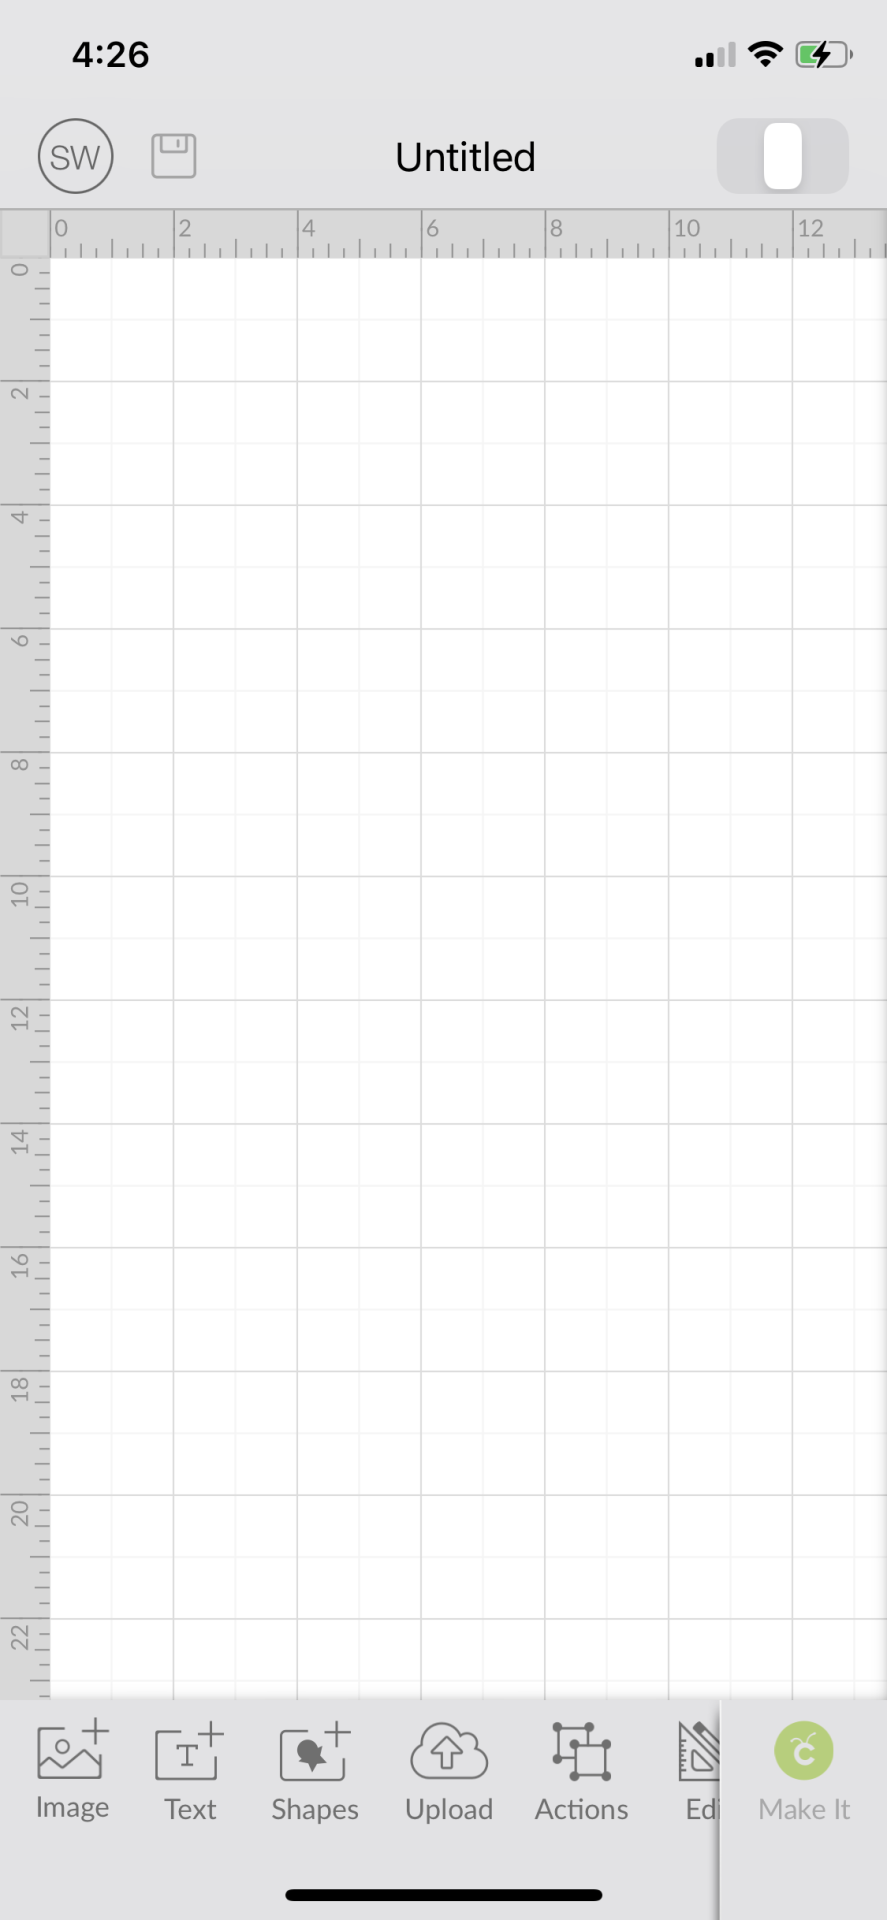
Basic Design Space Options at BOTTOM of Screen:
- Add Image: Cricut has tons of images to choose from like themes, people, occasions, and shapes. You can choose images that fit your project.
- Add Text: use this to add any type of text to your project. You can choose different fonts and move the text where you would like it to show up.
- Add Shapes: this is an option to add simple shapes to your project like circles, squares, triangles, etc.
- Upload: you can also upload your own images or text with this button
- Actions: this tab shows several options or “actions” that you can do to your design including group, ungroup, attach, detach, or weld. Basically these are options for getting your different images to display in different ways.
- Edit: you can choose one of your images and edit them further with this button. You can do things like change its size, rotate it, etc.
- Sync: the sync option is to help you match colors of different images you are using or consolidate colors to help limit the different materials you use.
- Layers: this is where you choose how the different images you’ve chosen are made with Cricut – cut with a blade, drawn with a pen, scored, or printed.
- The Undo and Redo buttons are very useful and pretty self explanatory. If you want to correct something you have done, you can use these buttons.

Basic Design Space Options at TOP of Screen:
- Your Initials: this will take you to your profile.
- A disk: this saves your project. Definitely save your project as you complete different steps.
- Home: This will take you back to the first screen where you can start a new project.
- Canvas: That is the project you are currently working on.
- Make: This will take you to the “printer view” of your project.
4. Once you are satisfied with your project and ready for Cricut to do its thing, you click “Make It” in the bottom right corner. This will take you to a screen like this…

5. From there you will continue, and select your Cricut machine! Circuit will walk you through all the steps of loading and unloading certain materials to complete the project the way you want it.
There is SO much to learn with the Cricut and as a beginner, you should definitely try out some very easy projects at first with minimal multiple steps. Check out this blog on what to do when you first get your Cricut machine. It outlines what to do the minute you take your Cricut out of the box.