

Just Realizing the Potential of the Cricut Explore Air 2?
The most popular product from Cricut is the Explore Air 2. It's an excellent mid-level model ideal for novice and expert makers. More than 100 different materials can be cut using it, including printable sticker paper, vinyl, cardboard, various types of leather, and fabric with a stabilizer backing. With mats that measure 12/12 or 12/24, the Cricut Explore Air 2 enables you to make full-size iron-on decals for T-shirts, substantial vinyl decals, and 3D paper crafts. Many projects can be done by using Cricut Explore Air 2. The possibilities are both endless and exciting. The Cricut Explore Air 2 can make coloring pages, cupcake cards, place cards, stickers, greeting cards, handwritten notes with over 370 fonts, and much more. It also scores perfect fold lines for place cards, water bottle hang tags, cards, boxes, and cupcake liners.How to Make Stickers with Cricut Explore Air 2
If you are thinking about making stickers with your Cricut machine, here are the simple steps to follow:Step 1
Open a fresh canvas in the Cricut Design Space App.Step 2
Create an image using the Cricut Design software. It has a lot of built-in capabilities like a background remover tool, brayer tool, and erase tool. Apart from this, it comes with a lot of additional features like a print-then-cut feature and an offset feature.Step 3
Upload the sticker image to Circuit Design and provide the extra border. The design can be in different shapes - choose whatever you like best. Interestingly, you can use independent Art Designs with this software. It gives plenty of options in terms of innovative designs. To change the current pattern, you can simply select pattern and edit pattern to get all the options customized as per your choice.Step 4
Print the image as the standard-size piece. Before that, make sure you have checked the color box, color scheme, and color markers, as well as the align options for the design.Step 5
Set material and confirm the calibration steps of the cutting tool. This can be done from advanced printer settings. This is how you ensure that your default setting or the custom setting is at the correct cutting setting. Once the setting is finalized make it an auto setting. This is one of the determining stages in the printing and cutting process.Step 6
Now is the time to load the mat into the cutting machine and ensure the correct material setting. This is a crucial step that relies on the smoothness of the final cut.Step 7
Circle the white border and cut out the stickers along the border. A mistake in this step can make you have a difficult time getting the perfect cut in separate layers.Step 8
Unload the mat and remove the stickers. This is the final cutting step. To get an exact cut for your stickers, it's best to put your sticker on the top left corner of the machine. Align the top edge of the mat with the grid lines. A straight and smooth sticker paper is a must-look to get the best cut of the sticker. This will aid the Cricut machine in reading the sensor marks and making precise cuts.What Do You Need to Make Stickers?
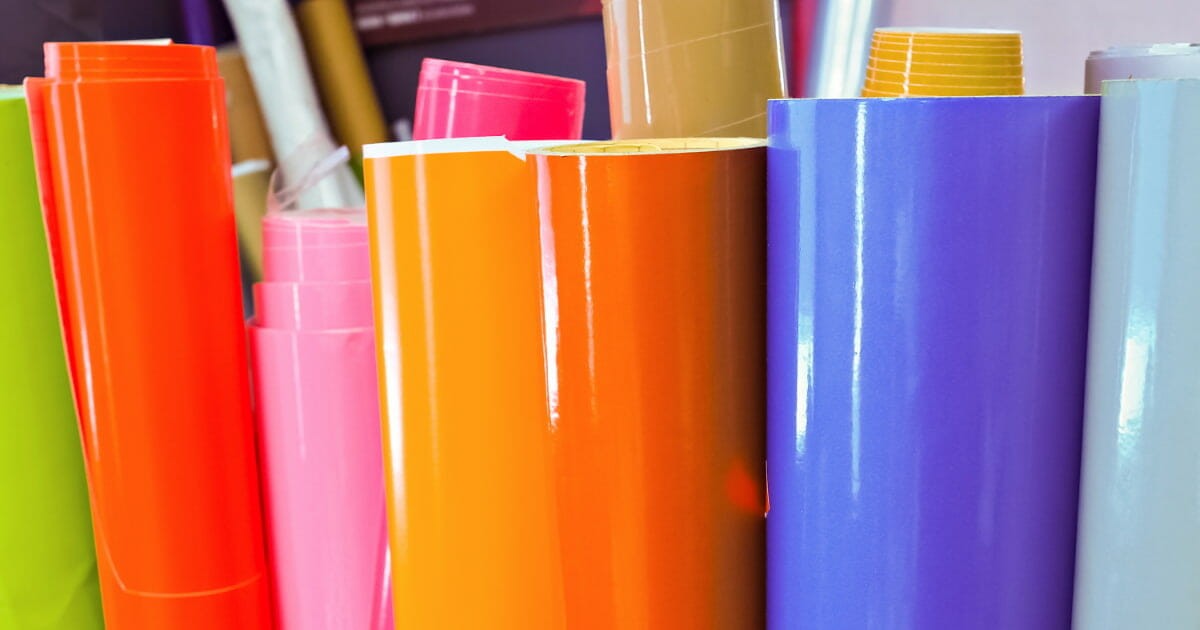 Here are the materials you'll need to use a Cricut to create printable stickers:
- Sticker paper
- Cricut Explore Air 2
- Cricut Design Space
- Images of sticker sheets